Ideal Choice Meltique Beef Honest Review
November 11, 2020

For my sister’s birthday, I wanted to try a different type of steak (my normal buy would be USDA Angus Ribeye – which is supposed to be the best steak for beginners). Well, upon browsing available steak offerings, I chanced upon Meltique Beef.
Did you know?
Meltique Beef originated from Australia using a French technique called “Pique,” which introduces fats into the red meat to enhance the flavor and tenderness of the beef. The beauty of this is – you get consistent tenderness throughout the beef! This is quite different from wagyu or grain-fed beef as they achieve the coveted intramuscular fat marbling through genetics (wagyu) or through a targeted grain feeding program.
Well, after reading that description, I thought it sounded promising. My mom hates tough steaks and is my #1 steak critic, so consistently tender sounded like an ideal steak to me. Alas, there is such a thing as too tender, and that was when I learned, Meltique Beef is a no-go for my family.
Verdict: Meltique Beef too artificially tender – takes away from the steak experience
What I ordered
- From Ideal Choice PH
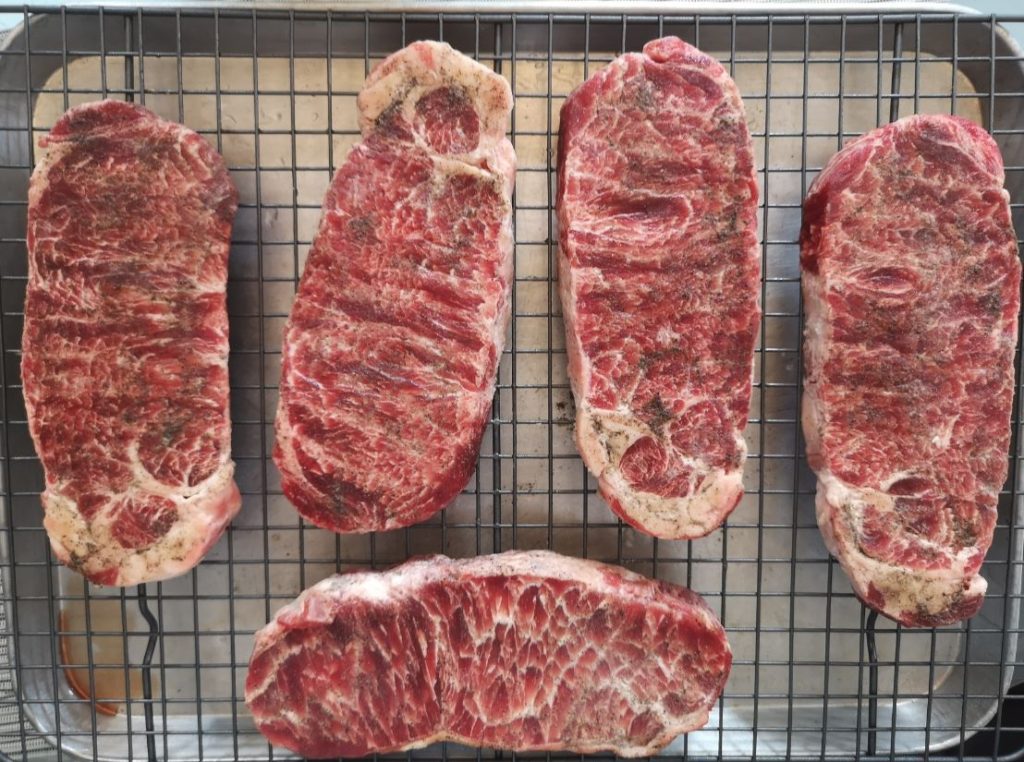
- 5 packs of Meltique Beef – Striploin Steak (230g each): PHP 1750

How to cook Meltique Beef
Step 1: Season the meat
- The day before you cook the steak, transfer the meat to the refrigerator
- Around ~4-8 hours before you plan to cook it, take out the steak from the refrigerator and pat dry using paper towel
- Liberally season with salt and pepper. Make sure to rub it in, especially if your steak is 3/4 inch or more. I might have overdone it though. My mom says the Meltique Beef was a tad too salty
- Afterwards, place your seasoned steaks onto a rack and put back into the fridge. Letting it season overnight will really allow the flavor to seep into the steak
Step 2: Cook with a cast iron skillet
- 20 minutes before you cook the steak, bring them out of the refrigerator. You’ll notice that the color has changed a bit. If the steak feels a bit moist (it shouldn’t though), make sure to pat dry again. You really do NOT want to cook a moist steak as this might prevent the crust from forming
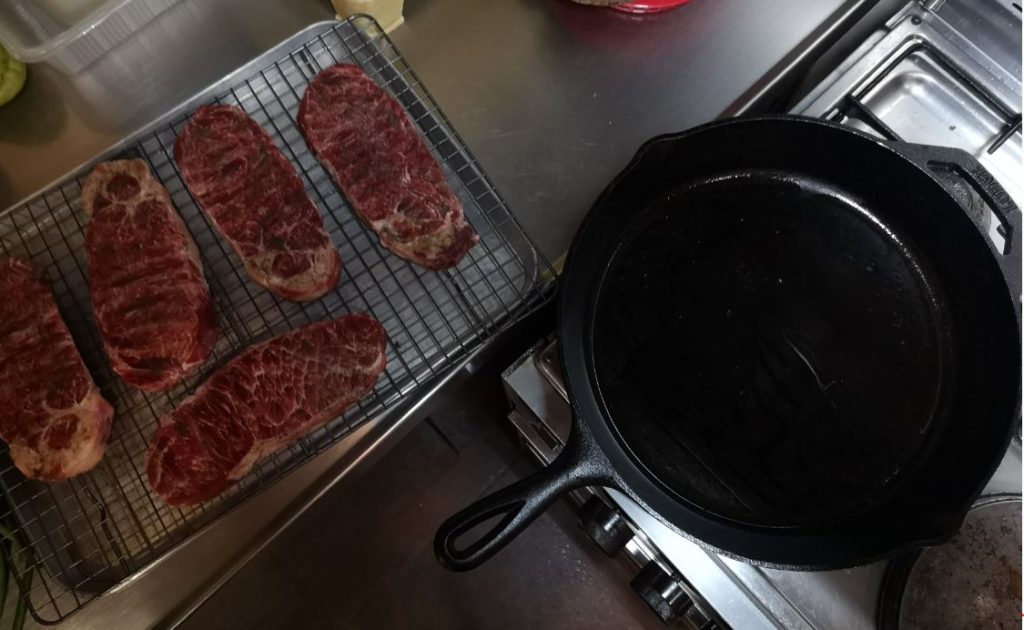
- Heat up your cast iron skillet on the stove. Make sure to use mitts or cloth when holding the handle as it can get VERY hot
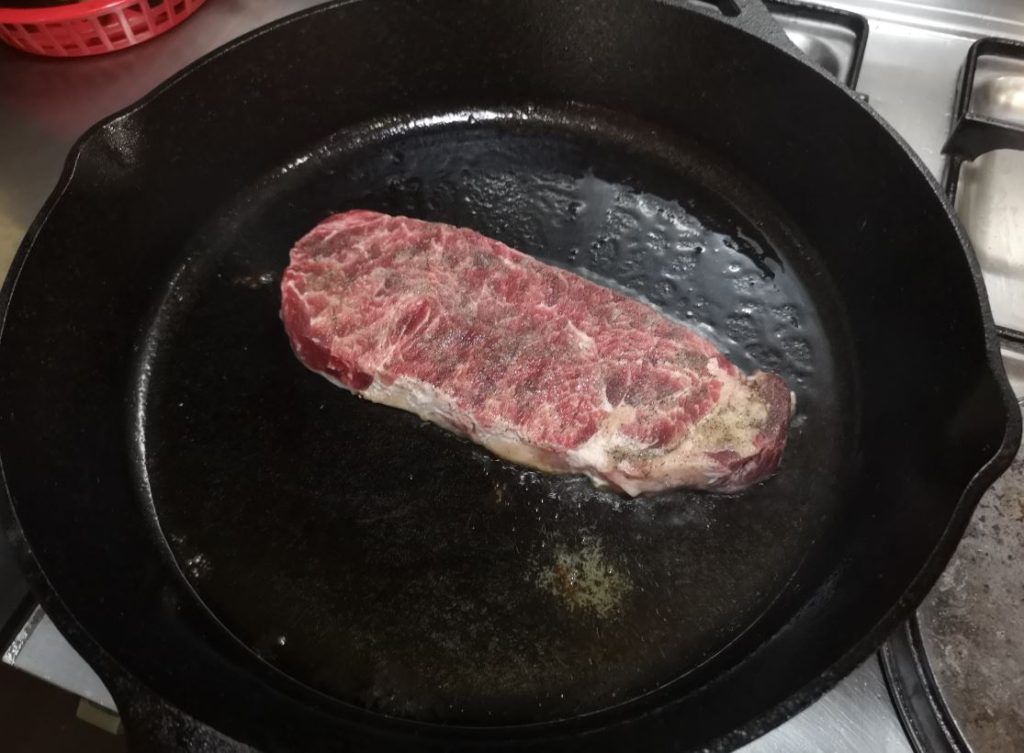
- To check if the skillet is at the desired temperature, drizzle some oil onto the pan. When steam starts rising from the pan (yes, STEAM! You can’t miss it), you’ll know it’s time

- Time to cook the steak! First, place a chunk of butter onto the pan and quickly swirl it around to make sure it evenly coats the pan surface
- Finally, place the steak onto the heated pan. My steak was 3/4″ thick, and I did as follows for a medium-rare/medium finish:
- Side A: 45 seconds, then flip
-
- Side B: 45 seconds, then flip

-
- Side A (again): 15 seconds, then flip
- Side B (again): 15 seconds, then flip
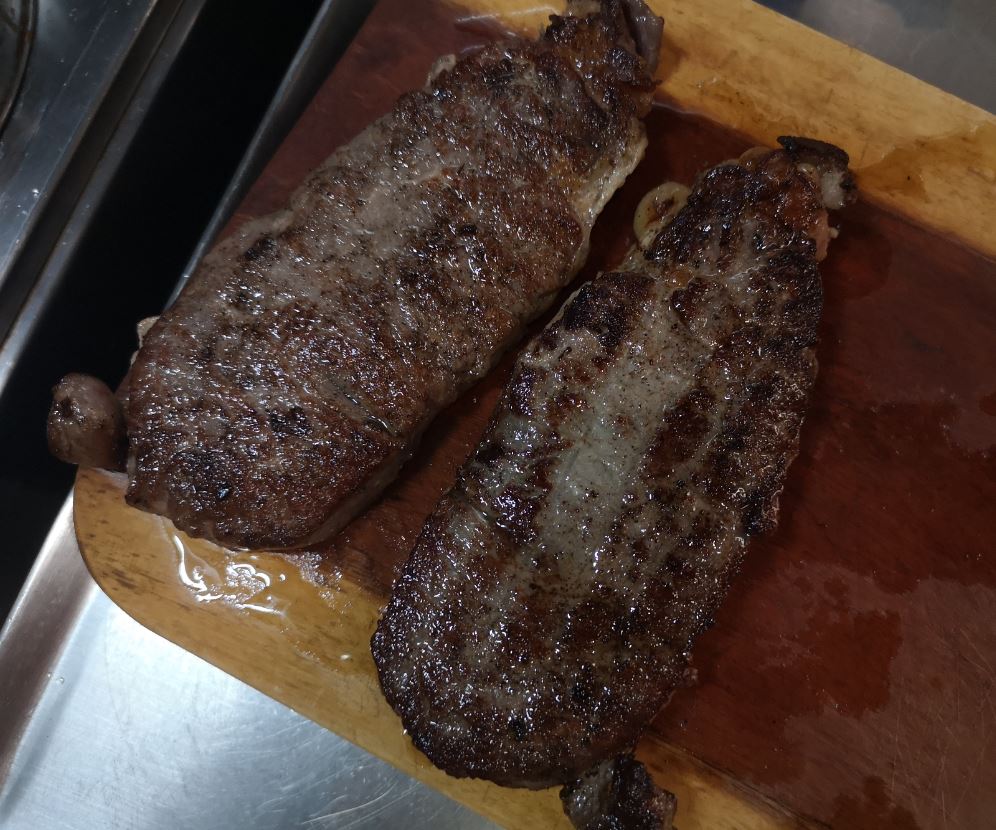
In retrospect – I should’ve cooked it for a longer time, as it was more rare than the desired medium rare
Step 3: Let the beef rest before cutting
- Afterwards, I transferred the steak to a chopping board and let it rest for 10 minutes. This allows the juices to pool across the steak. If you slice the steak immediately, you cut short this process.
- Once the 10 minutes is up, slice the steak

Taste
Unfortunately, the Meltique Beef was a bit TOO tender. Too tender, what does that even mean? Well, my parents felt like they weren’t eating steak because the taste and texture was just so uniform all throughout. To be honest, I appreciated the fact that there were no annoying tendon, the fats were well-distributed; but once my parents pointed out how unnatural it tasted, I started feeling turned off too! The power of peer pressure.

Oh well, at least now I know. I think this would be a good buy in case I want to treat my grandparents to steak.
Anyway, back to USDA Angus Ribeye for me! Although I may try to experiment with different country origins – perhaps Australian or Brazilian beef next?